Buying a wine cooler means you always have a perfectly chilled bottle of vino at your fingertips. It also means you don't have to worry about filling up your regular refrigerator with bottles. But before the party can start, you need to properly install and position the cooler. A good installation ensures that your unit runs safely and efficiently and that your wine collection is preserved for the long-term.
10 Tips for Installing and Positioning Your New Wine Cooler
1. Pick the Right Cooler
If you're planning to install a built in wine cooler cooler under a countertop, be sure to choose a unit that is specifically designed to be built-in. Built-in coolers have vents on the lower front that keep the unit from overheating. Coolers that are not specially designed for built-in use usually need to have more air circulating them and should not be installed with cabinetry surrounding them.
Before you select a cooler, you'll also want to think about what you want in a unit. Coolers come with various bottle capacities, and some even have dual zones that allow you to chill red and white wines separately. As you're shopping around, keep in mind that units with adjustable interior racks often give you the most flexibility and make it possible to pack more bottles into storage.
Types of Wine Coolers: Built-in vs. Freestanding
When it comes to choosing a wine cooler, one of the most important decisions you’ll make is whether to opt for a built-in or freestanding model. Built-in wine coolers are designed to be installed under a counter or within existing cabinet space, offering a sleek and integrated look that seamlessly blends with your kitchen or dining room decor. These units typically feature front ventilation, which allows them to be installed flush with cabinetry without overheating. Built-in wine coolers are perfect for those who want to maximize their cabinet space and keep their wine collection out of sight.
On the other hand, freestanding wine coolers offer more flexibility in terms of placement. These units are designed to stand alone and can be positioned anywhere in your home, from the kitchen to the living room or even a dedicated wine cellar. Freestanding wine coolers are often less expensive than built-in models and can be easily moved if you decide to rearrange your space. They are ideal for showcasing your wine collection and adding a modern, stylish touch to your home.
Whether you choose a built-in or freestanding wine cooler, both options provide excellent storage solutions for your wine collection. Consider your space, budget, and aesthetic preferences when making your decision.
Wine Cooler Size and Capacity
Selecting the right size and capacity for your wine cooler is crucial to ensure it meets your storage needs. Wine coolers come in a variety of sizes, from compact units that hold a few bottles to large models that can store hundreds. The size of the wine cooler you need will depend on the size of your wine collection and the available space in your home.
If you have a modest wine collection, a compact wine cooler may be sufficient. These smaller units are perfect for fitting into tight spaces and are ideal for those who enjoy a few bottles of wine at a time. However, if you have an extensive wine collection or plan to grow it, a larger wine cooler with a higher bottle capacity will be necessary.
Additionally, consider the capacity in terms of temperature zones. Some wine coolers feature single temperature zones, which are suitable for storing one type of wine. Others offer multiple temperature zones, allowing you to store different types of wine, such as reds, whites, and sparkling wines, at their optimal temperatures. A dual-zone wine cooler is an excellent choice for those with a diverse wine collection.
2. Select the Right Spot in Your Home Away from Direct Sunlight
Wherever you position your new wine cooler, whether it's in the kitchen, the dining room, or by the bar in your family room, make sure it's not sitting in direct sunlight. Light creates warmth and may make the cooler work harder than it needs to. You should also avoid installing the unit next to a major appliance like a dishwasher, which will generate heat.
Allowing warm air to escape is crucial to maintain optimal cooling performance. Insufficient space around the unit can lead to overheating, so proper ventilation is necessary for both cool air intake and warm air expulsion.
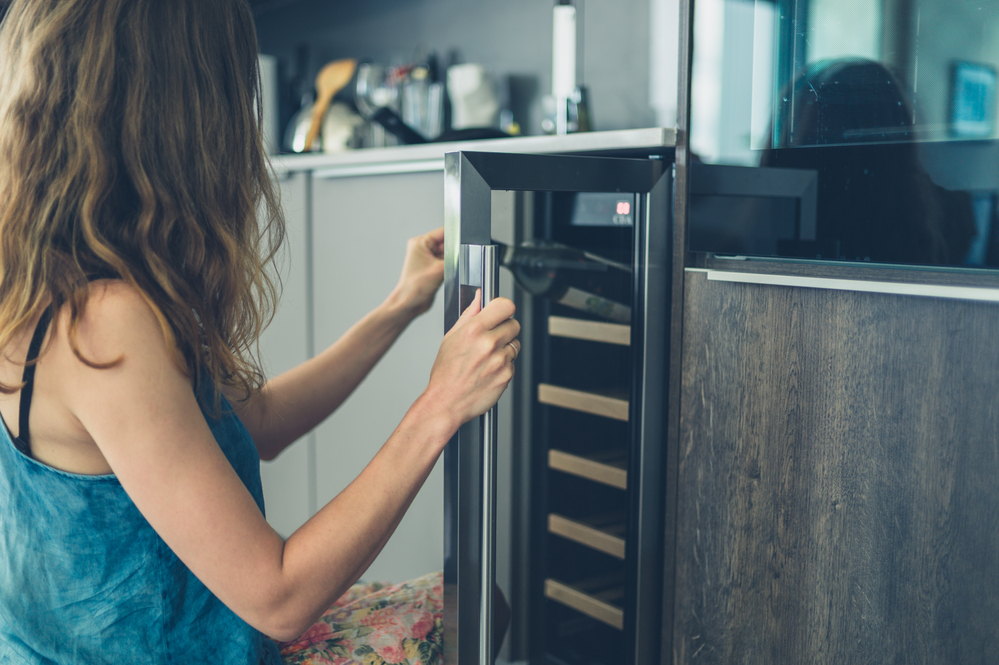
Unless you're installing a built-in cooler, be sure there is plenty of space around the unit for ventilation. And make sure surrounding furniture and other items aren't positioned in a way that prevents the cooler's door from fully opening. If the door doesn't fully open, you'll have trouble sliding the internal racks out and accessing your wine collection.
Ensure Adequate Ventilation
Proper ventilation is essential for the efficient operation of your wine cooler. Wine coolers need to circulate cool air to maintain the optimal temperature and humidity levels required for storing wine. When installing your wine cooler, ensure there is adequate ventilation around the unit.
For built-in wine coolers, make sure there is a gap of at least 1 inch between the cooler and any surrounding cabinets or walls. This space allows for proper airflow and prevents the unit from overheating. Freestanding wine coolers should also be placed in a location where they are not exposed to direct sunlight or heat from other appliances, as this can affect their performance.
Regularly check the ventilation system of your wine cooler to ensure it is functioning correctly. Clean the air vents and filters to remove any dust or debris that may obstruct airflow. By ensuring adequate ventilation, you can maintain the proper environment for your wine collection and extend the lifespan of your wine cooler.
3. Make Sure You've Got Power
4. Set the Cooler Up
Moving the cooler into place and setting it up is a reasonably easy process, especially if you’re not trying to install it under a counter. You’ll need a few simple tools as you follow the manufacturer’s installation instructions, including a level, a screwdriver, and possibly a couple of scraps of wood to place under the unit’s feet if the floor is uneven. Additionally, ensure you have mounting plates and a Phillips head screwdriver to secure the unit properly.
Depending on what surface your wine cooler will be sitting on, it may be a good idea to put down plastic sheeting or a tray first. That will ensure that any condensation the cooler generates is caught.
5. Make Sure the Cooler Is Level
6. Let the Cooler Sit
7. Set the Right Temperature
A temperature of 55 degrees Fahrenheit is considered an optimum temperature for preserving and storing your wine long-term. If you have a dual-zone cooler, you have the option of having one zone set for long-term storage and the other set at the best temperature for serving your wine.
Sparkling wines are traditionally served ice cold, or at 40 degrees. White and rose wines are best served between 50 and 60 degrees. Red wines are often served close to room temperature, or somewhere between 60 and 65 degrees. If you're a red wine drinker with a single-zone cooler, you can always program your unit to 55 degrees for long-term storage, and take bottles out a half hour before serving so they have time to come closer to room temperature.
8. Don't Overload the Unit
9. Clean the Cooler Occasionally
Cleaning your cooler every six months or so is a great way to ensure its peak performance. To clean it, simply unplug your unit, remove the bottles and shelves, and wipe down the interior with a soft cloth. Be sure to store your bottles in a cool, dark place while you're working.
As you're cleaning, look for any areas where moisture or frost seems to be building up in the unit, which could be a sign that it's not functioning properly. Once you're done, you can slide the shelves back in and restock the unit.
10. Keep Up With the Filters
If the cooler you purchased is equipped with a carbon filtration system, it has filters that should be replaced every three to six months. Carbon filtration systems help prevent odors from seeping through your corks and entering your wine. Proper wine fridge installation is crucial to ensure these systems function effectively and maintain optimal storage conditions.
A wine cooler can resolve your wine storage needs and give you the peace of mind that comes from knowing your collection is aging in the proper environment. Plus, it makes home entertaining fun. Selecting and installing a wine cooler has never been easier.
Get all the information and assistance you need from Wine Cellar HQ.
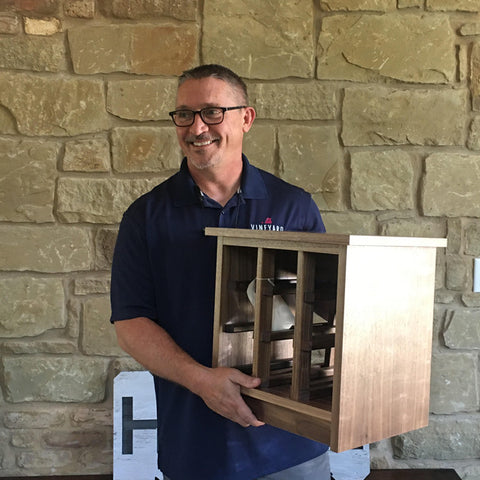
Randy is a true wine storage aficionado and expert in wine cellar design. He gained construction experience as a partner in a general contracting business before niching into and passionately focusing on creating wine storage solutions for clients in 2016. He takes great pride in bringing these designs to life, and is dedicated to ensuring that every wine cellar he creates is not only functional but also a beautiful addition to any home or business. The Wine Cellar HQ team also includes refrigeration sizing experts and licensed HVAC technicians to ensure optimal climate control for your wine cellar, so that your wines can age to perfection.
11. Troubleshooting Common Issues
Even with proper installation and maintenance, you may encounter some common issues with your wine cooler. Here are a few problems you might face and their potential solutions:
-
Temperature Fluctuations: If the temperature in your wine cooler is inconsistent, it could be due to a faulty thermostat or cooling system. Check the thermostat settings and ensure the cooling system is working correctly. If the issue persists, you may need to consult a professional technician.
-
Humidity Issues: Maintaining the right humidity level is crucial for wine storage. If the humidity levels are off, it might be a problem with the humidistat or ventilation system. Verify that the humidistat is set correctly and that the ventilation system is clean and unobstructed.
-
Leaks: Leaks can occur if there are issues with the seals or drainage system. Inspect the seals around the door to ensure they are tight and not damaged. Check the drainage system for any blockages or malfunctions.
-
Noise: Unusual noises from your wine cooler can be caused by problems with the fan or compressor. Ensure that the fan and compressor are functioning properly and that there are no blockages in the ventilation system. If the noise continues, it may be time to call a professional for a thorough inspection.
By addressing these common issues promptly, you can ensure your wine cooler continues to operate efficiently and keeps your wine collection in the best possible condition.