WhisperKOOL
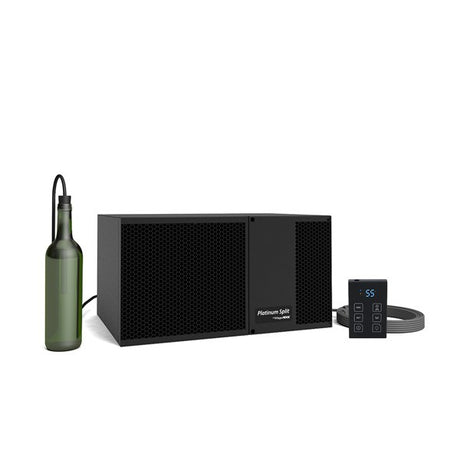
WhisperKOOL Platinum Mini Split Wine Cellar Cooling System
$5,575.00Unit price /Unavailable-
WhisperKOOL
WhisperKOOL Ceiling Mount 4000 Wine Cellar Cooling System
$7,895.00Unit price /Unavailable-
WhisperKOOL
WhisperKOOL Ceiling Mount 8000 Wine Cellar Cooling System
$8,255.00Unit price /Unavailable-
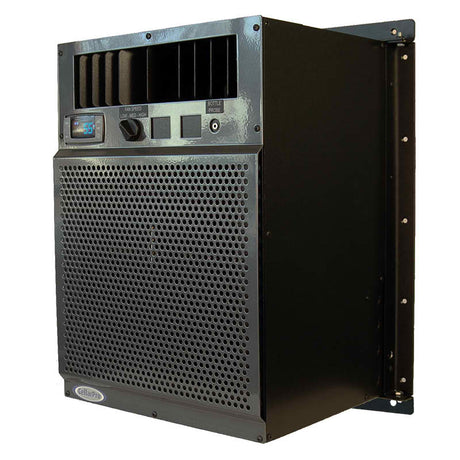
WhisperKOOL
WhisperKOOL Mini Ceiling Mount Wine Cellar Cooling Split System
$6,815.00Unit price /Unavailable-
WhisperKOOL
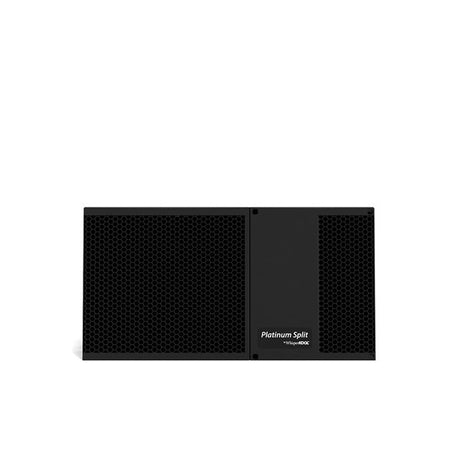
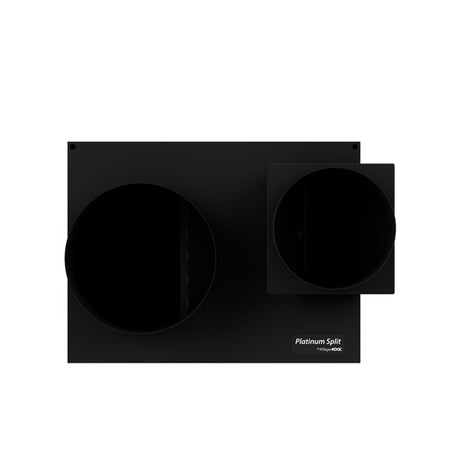
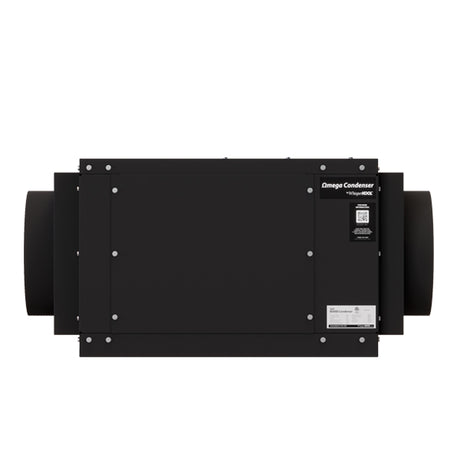
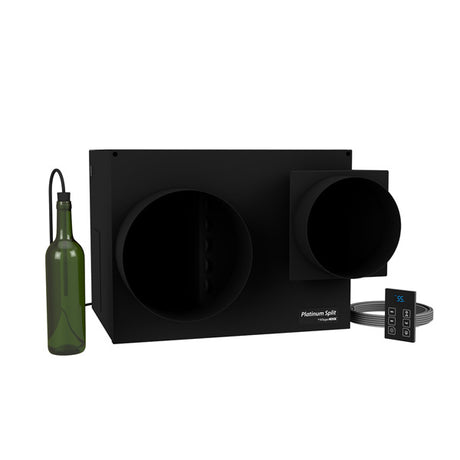
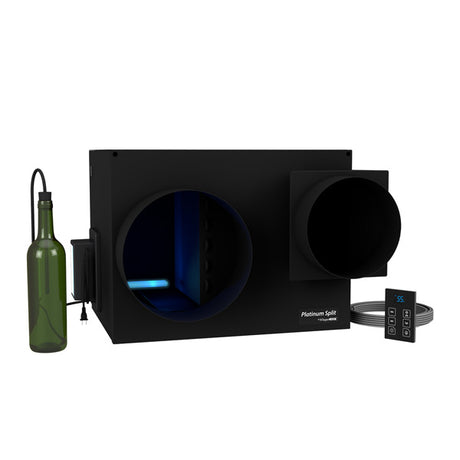
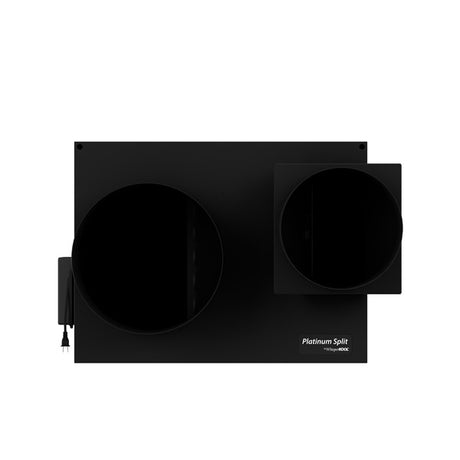
WhisperKOOL Platinum Split 8000 Ducted Wine Cellar Cooling System
$7,595.00Unit price /Unavailable-
WhisperKOOL
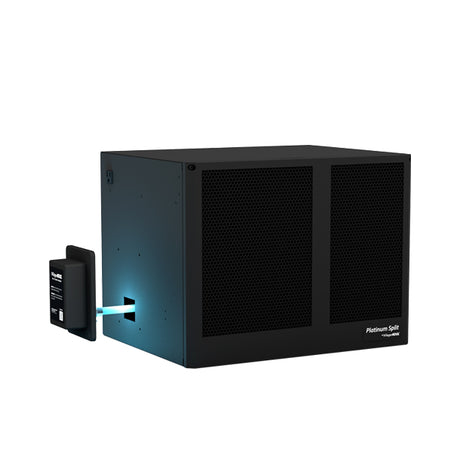
WhisperKOOL Platinum Ductless Split 8000 Wall Mounted Wine Cellar Cooling System
$7,595.00Unit price /Unavailable-
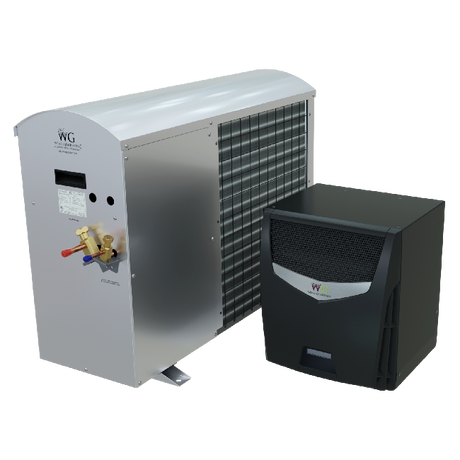
WhisperKOOL
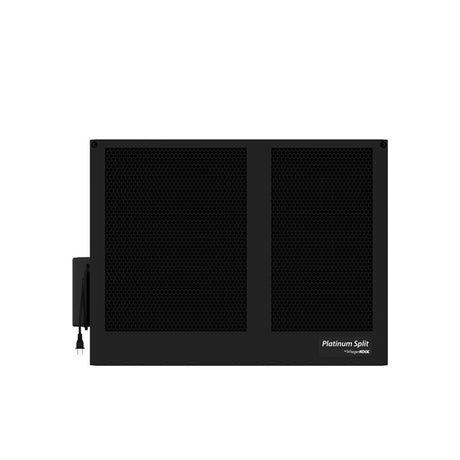
WhisperKOOL Platinum Split 4000 Wall Mounted Wine Cellar Cooling System
$7,455.00Unit price /Unavailable-
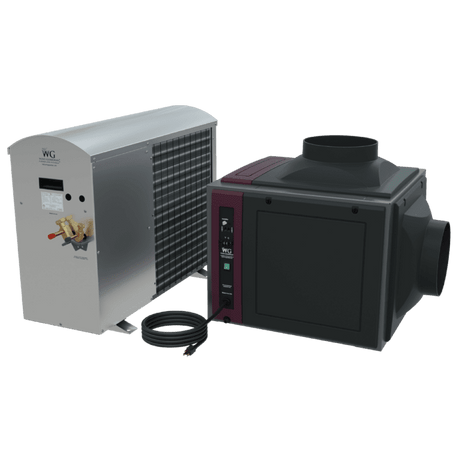
WhisperKOOL
WhisperKOOL Platinum Split 4000 Ducted Wine Cellar Cooling System
$7,255.00Unit price /Unavailable-
CellarPro
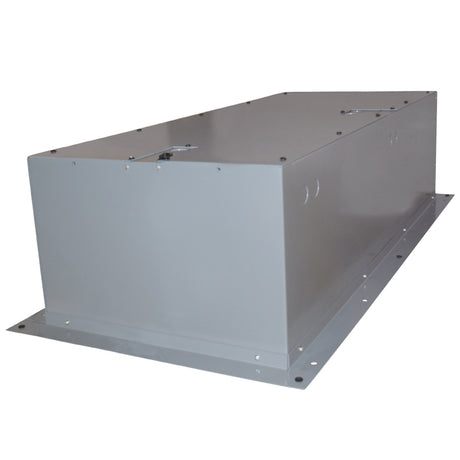
CellarPro 4000Scmr Recessed Ceiling Mount | Wine Cellar Cooling System | up to 1000 cubic feet
$5,695.00Unit price /Unavailable-
CellarPro
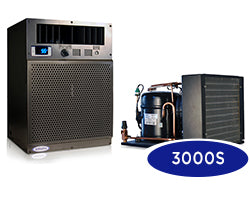
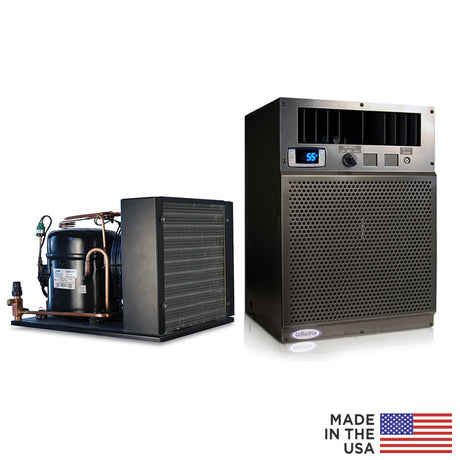
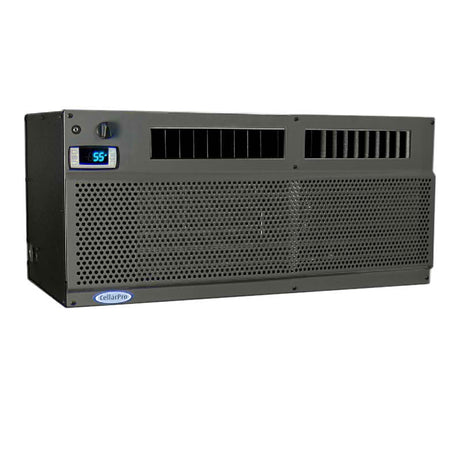
CellarPro Mini Split 3000S Split System Cooling Unit (up to 600 cubic feet)
$4,495.00Unit price /Unavailable-
CellarPro
CellarPro 3000Scmr Recessed Ceiling Mount | Wine Cellar Cooling System | up to 600 cubic feet
$5,195.00Unit price /Unavailable-
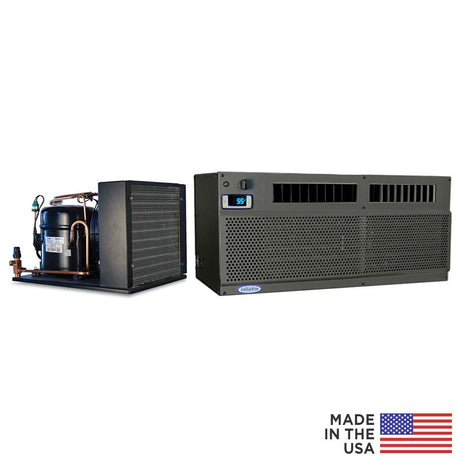
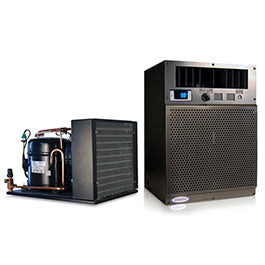
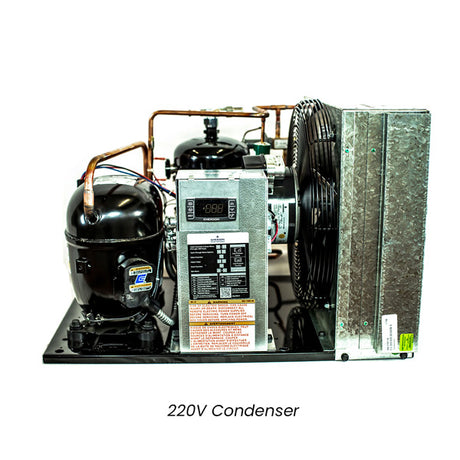
CellarPro
CellarPro 8000S Split System Cooling Unit (up to 2000 cubic feet)
$6,695.00Unit price /Unavailable-
CellarPro
CellarPro 4000S Split System Cooling Unit (up to 1000 cubic feet)
$4,995.00Unit price /Unavailable-
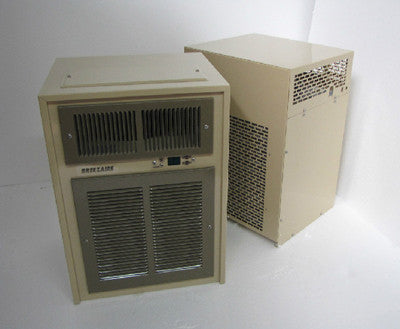
WhisperKOOL
WhisperKOOL Quantum SS9000 Wine Cellar Cooling System
$9,705.00Unit price /Unavailable-
WhisperKOOL
WhisperKOOL Quantum SS12000 Wine Cellar Cooling System
$10,355.00Unit price /Unavailable-
 9% off
Wine Guardian
Wine Guardian® SS018 Ductless Split System Wine Cellar Cooling Unit
$6,869.00$7,556.00Unit price /Unavailable- 9% off
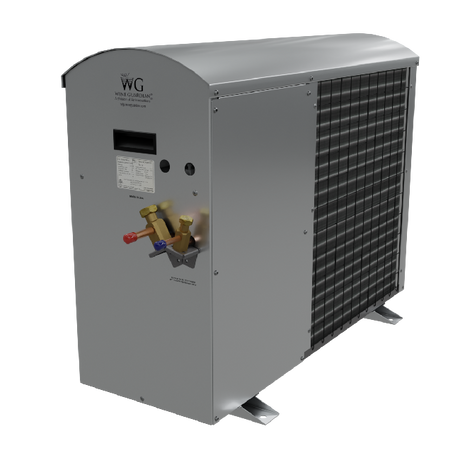
Wine Guardian
Wine Guardian® DS025 Duct Split System Wine Cellar Cooling Unit - Sentinel Series
$7,763.00$8,539.00Unit price /Unavailable -
WhisperKOOL
WhisperKOOL Ceiling Mount Twin Split Wine Cellar Cooling System
$11,049.00Unit price /Unavailable-
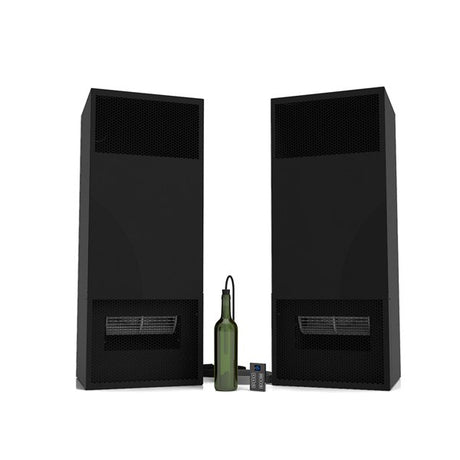
WhisperKOOL
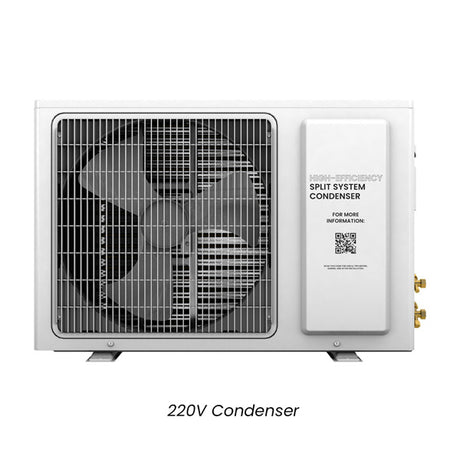
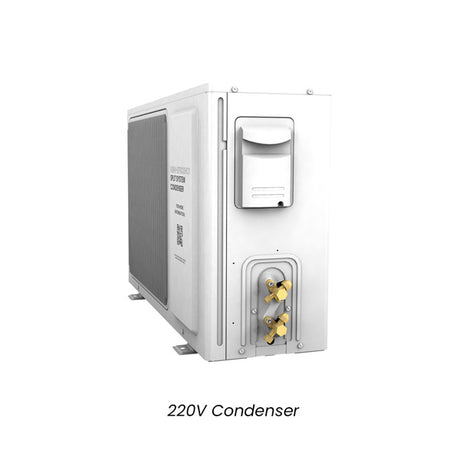
WhisperKOOL Ceiling Mount Twin 12000 Split Wine Cellar Cooling System (220V Condenser)
$12,335.00Unit price /Unavailable-
 9% off
Wine Guardian
Wine Guardian® DS050 Duct Split System Wine Cellar Cooling Unit
$8,445.00$9,289.00Unit price /Unavailable


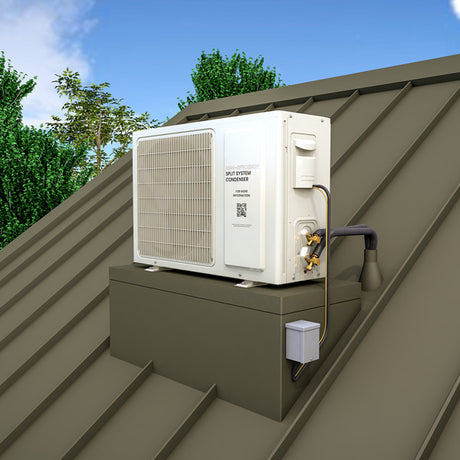


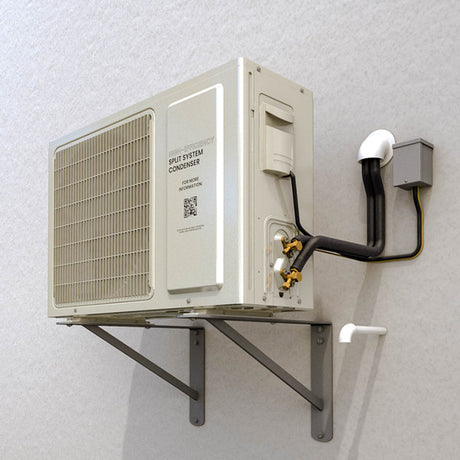


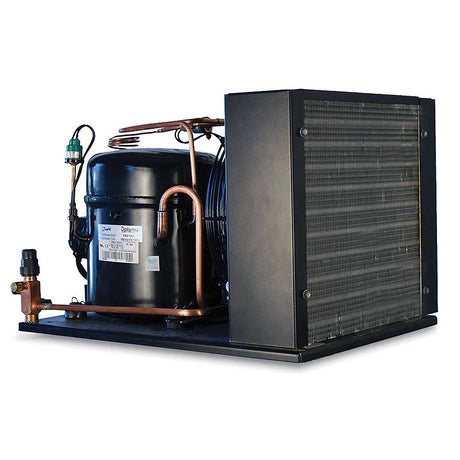


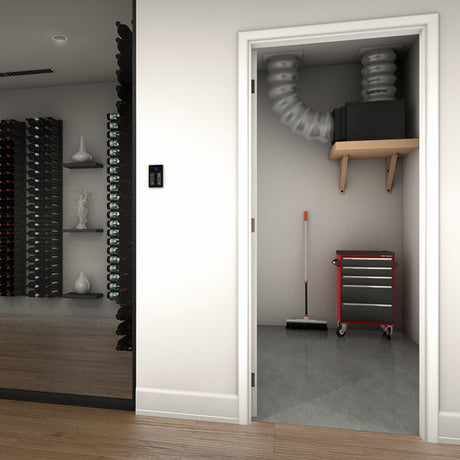


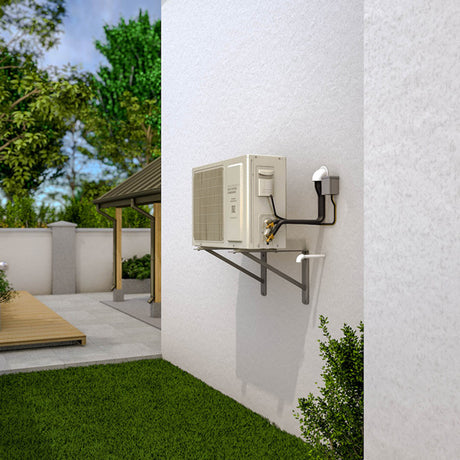


How far can you place the condenser in a split system without losing performance or quiet operation?

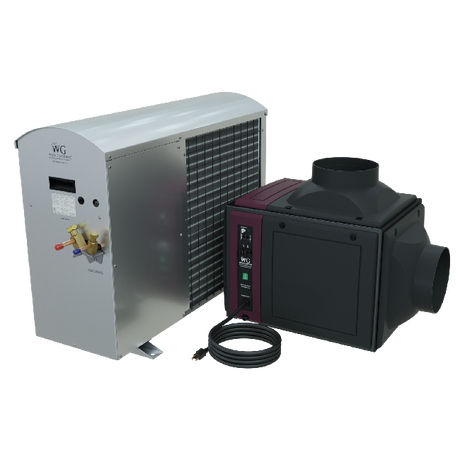
A split system solves indoor noise problems by allowing the condenser to be located remotely, but distance and placement directly affect its efficiency and reliability.
You are not dropping a hundred grand on walnut racking and a limestone tasting bench just to listen to a compressor hum like a jet engine parked in your cellar. It'll ruin the vibe faster than a corked bottle at a Château Margaux tasting.
Now, yes - split systems were designed to solve this. But here is the real question: how far is “far enough” when you are trying to keep the cellar whisper-quiet and your cooling system efficient?
Here is the deal: 50-75 feet is the goldilocks zone for refrigerant line distance. Past that, things get dicey. Imagine it like serving a Burgundy at 80°F - not technically impossible, but why would you?
Push it past 100 feet, and you are in the world of oil traps, oversized copper lines, and commercial-spec engineering gymnastics. Expect:
- Line upgrades to 1/2" and 3/4”
- Oil return traps every 20 vertical feet
- Subcooling dial-ins between 10-15°F
- Solenoid valves for cold weather compressor protection below 40°F
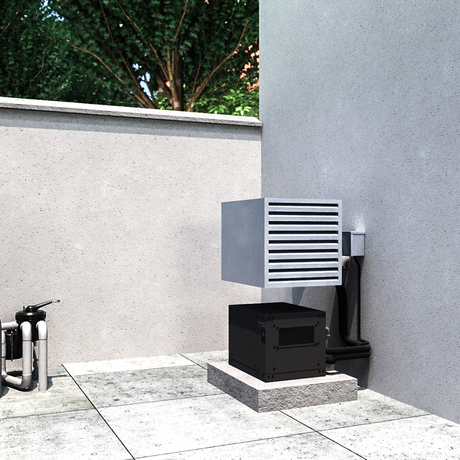
Think you can hide the condenser behind the outdoor shower or above the garage gym? Sure. But check airflow - 24" clearance on all sides, and 36" above minimum. Otherwise, it is like trying to run a marathon in a tuxedo - looks good, overheats fast.
Want to win the noise war? Mount the condenser on rubberized isolation pads, then tuck it behind a louvered, ventilated screen with airflow rated at 500 CFM or higher. Function meets façade - Architectural Digest would nod in approval.
But solving the noise is only half the game. What happens when the evaporator hits the room? That is where style, structure, and performance start fighting for dominance.
Which type of evaporator unit works best for your cellar layout and design goals

Your cellar layout determines which evaporator type delivers optimal air flow, visual harmony, and long-term maintenance access.
You have seen it: the $300K cellar ruined by a plastic wall unit clinging to the back corner like a bad decision. Do not be that cellar.
Evaporators are like sommeliers - when they are good, you barely notice them. But the wrong choice? Loud, clunky, and embarrassing.
Here is your tasting menu of options:
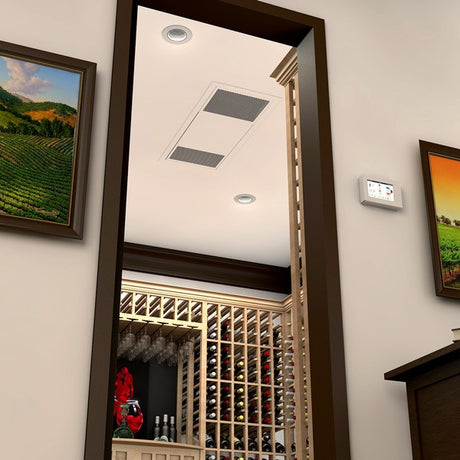
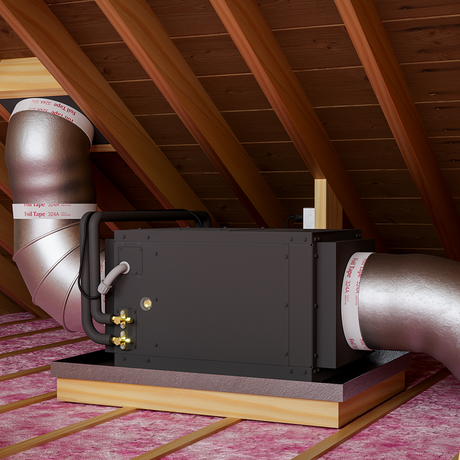
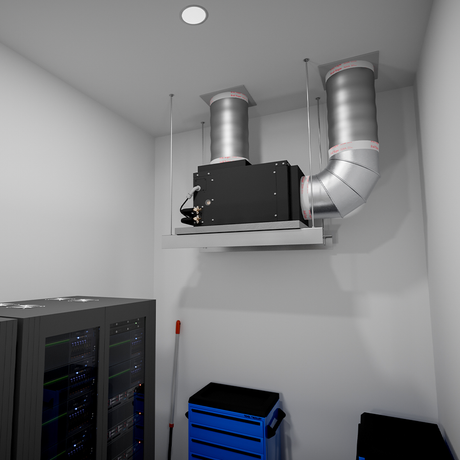
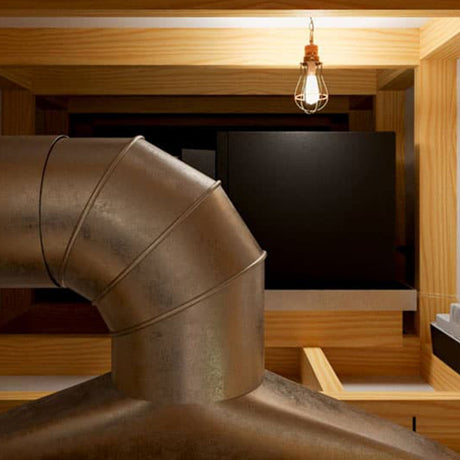
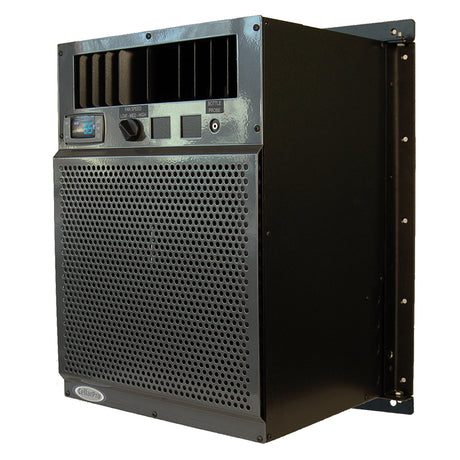
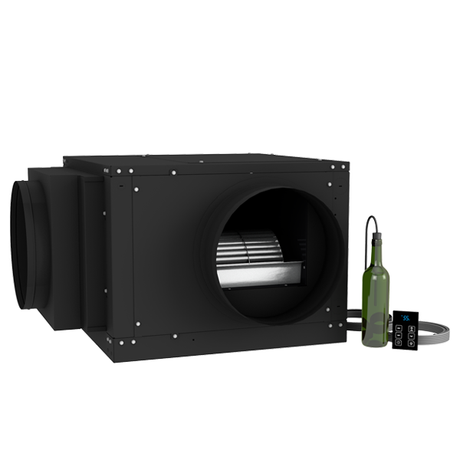
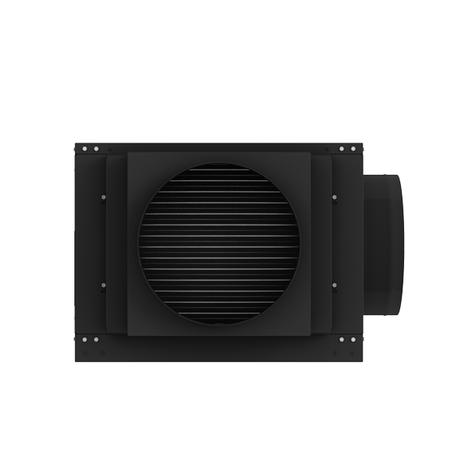
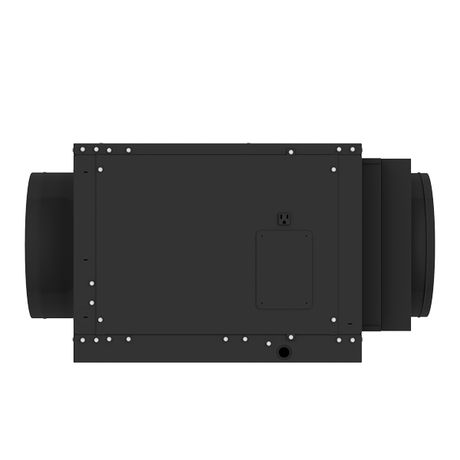
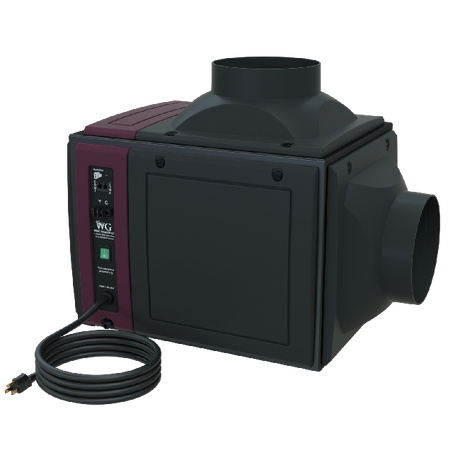
Ducted Evaporators
Think of these as the butler behind the curtain. Installed out of sight with insulated ducting (R-6+), they are ideal for:
- Contemporary glass cellars
- Hidden above ceilings or in adjacent closets
- Duct runs under 25 feet to maintain pressure and airflow
Pros? Silent. Elegant. No visible hardware.
Cons? They will eat framing time and need static pressure mapping. Budget at least $2,000 more for proper ductwork and framing support.
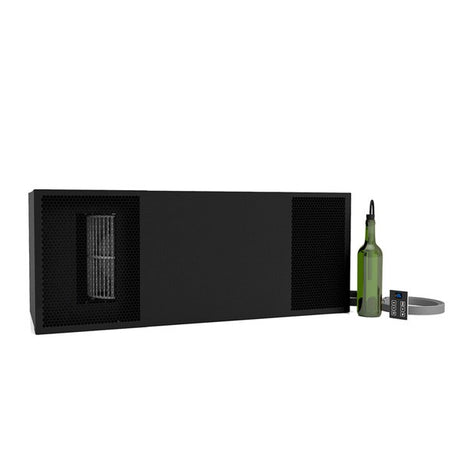
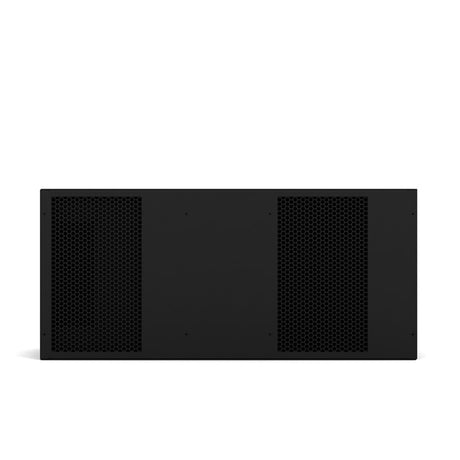
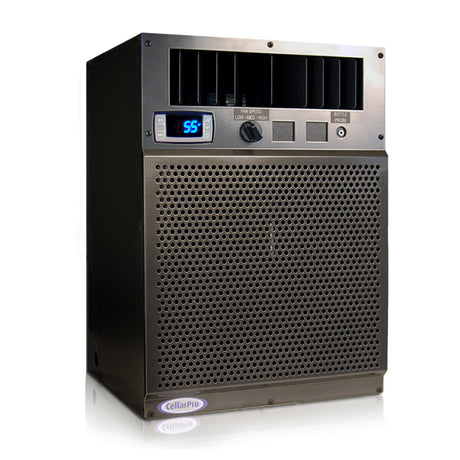
Wall-Mounted (Ductless)
Direct. Efficient. And a little on-the-nose. Good for practical spaces - but do not expect design awards.
- Operate at 42-50 dB(A)
- Easy install. Filter change? 2 minutes flat.
Great for utility cellars or second homes, but put this in your modern Napa-inspired gallery and someone will side-eye it during a tasting.
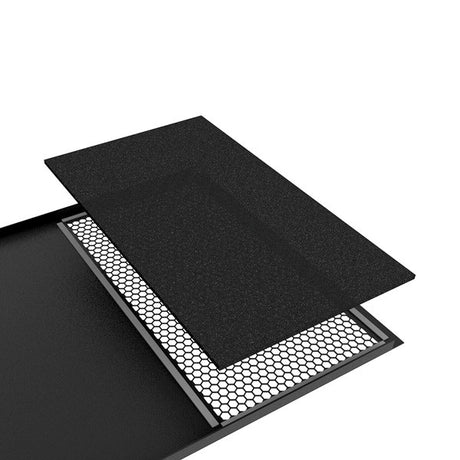
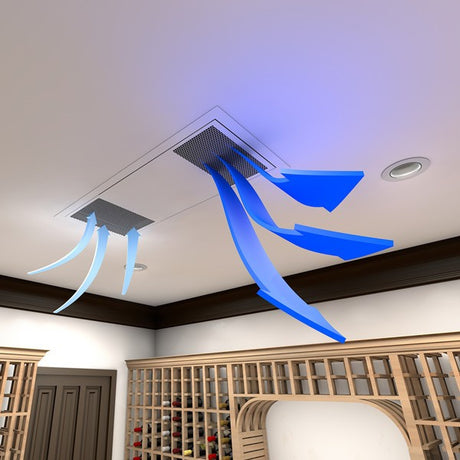
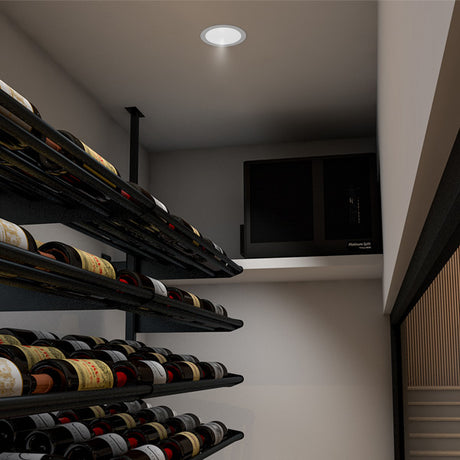
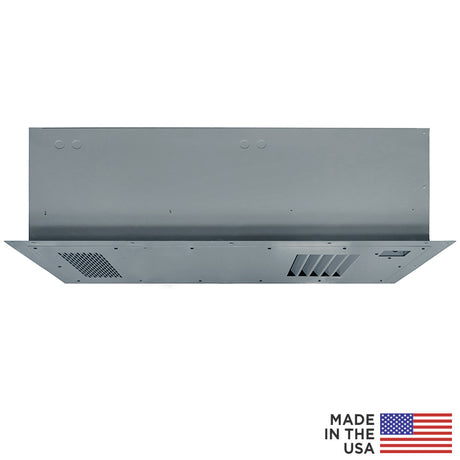
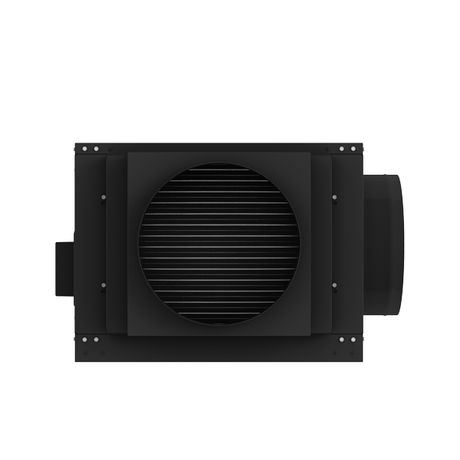
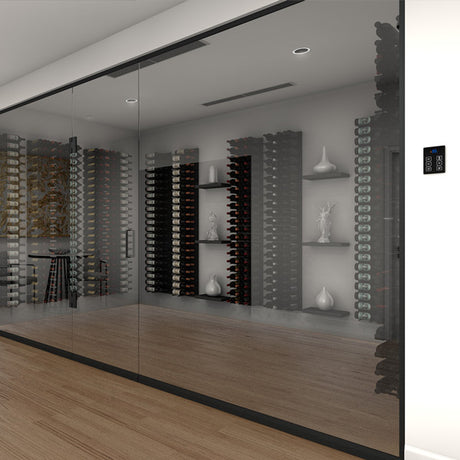
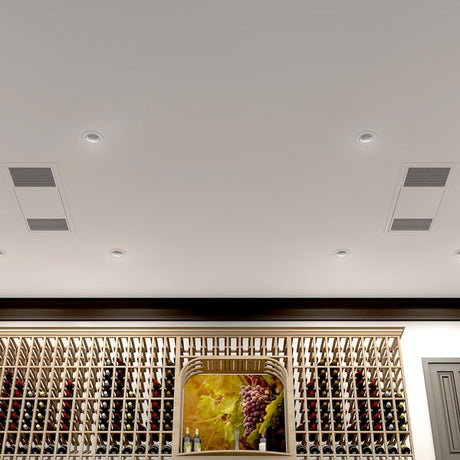
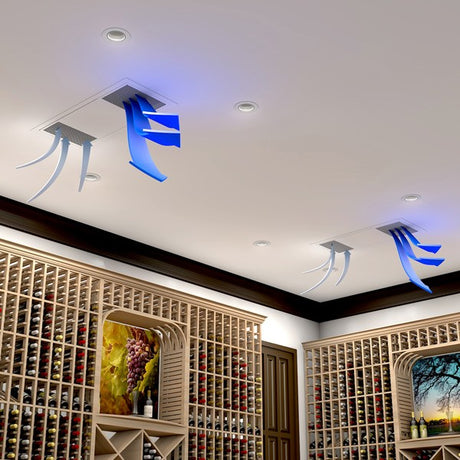
Ceiling-Mounted Cassettes
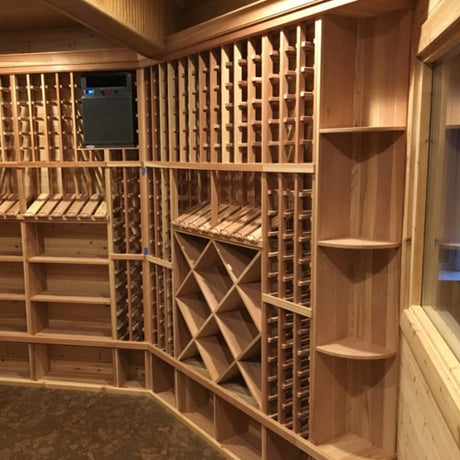
These are the stealth jets of evaporators - flush with the ceiling, multi-directional airflow, and very hard to spot. Think Robb Report–worthy.
- Require 9-12 inches of vertical clearance
- Perfect for minimalist, gallery-grade interiors
- Just make sure the HVAC guy installs a service hatch - you will thank yourself in 10 years.
Rule of thumb: If the cellar is for showing off, duct it or recess it. If it is for storing daily drinkers, wall-mount works. But whatever you do - do not let “visible evaporator” be the first thing guests see after your 2009 Screaming Eagle.
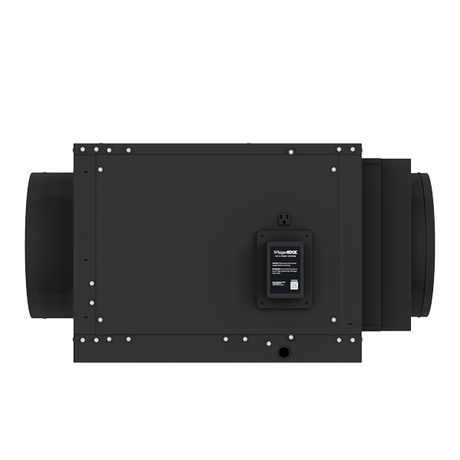
When planning your system, be mindful of terminology: “ducted split” systems hide the evaporator with ductwork, while “ductless split” units mount visibly on walls or ceilings.
Also, resist the urge to oversize - an overpowered system may short cycle, leading to poor humidity control and uneven temperature swings that stress your wine instead of protecting it.
If you want a system that’s not split, see our self-contained systems.
Also if you're still confused, we've got a ductless vs ducted cooling unit guide here.
You have chosen your look. But does it have the muscle and finesse to truly condition the environment - or is it just pushing air around like a glorified wine closet?
Can a split cooling system maintain proper wine cellar temperature and humidity levels

Split cooling systems create stable wine storage climates by precisely regulating temperature and controlling humidity.
Here is where things separate the collectors from the casuals.
A real cellar does not just cool - it curates a microclimate, like the caves beneath Épernay. You are not cooling soda cans - you are preserving vinified art, bottle by bottle.
Real wine conditioning means:
- ±1°F control (shoot for 55°F sweet spot)
- 50-70% humidity, no wild swings
- Gentle cycling - no compressor pounding every 10 minutes
What gets in the way? Glass walls (beautiful, yes), underinsulated ceilings, and recessed lighting pumping out 10-15 BTU/ft.
Smart design calculates:
- Glass SHGC at 0.3 = 300 BTU/hour per panel
- R-19 walls, R-30+ ceilings, or your system is going to fight constantly
- Every LED strip light adds 8-12 BTU/foot
Want to know what to spec?
- WhisperKOOL Quantum SS12000 for cellars up to 2,000 cu ft
- Wine Guardian® DS088 Ducted Split System for dual-stage finesse and integrated humidity monitoring
- CellarPro Air Handler Split 6500 Indoor if you want built-in humidity injection for desert climates
Wine is 85% water. Humidity control is not optional - it is mission critical. Think of it as cork insurance.
Now that your microclimate is stable, let us talk install. Or, as contractors call it: “How many walls are we tearing out?”
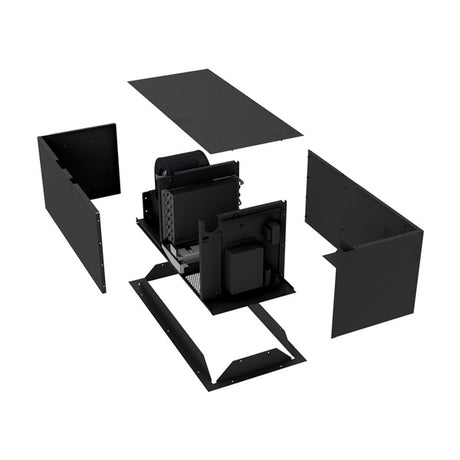
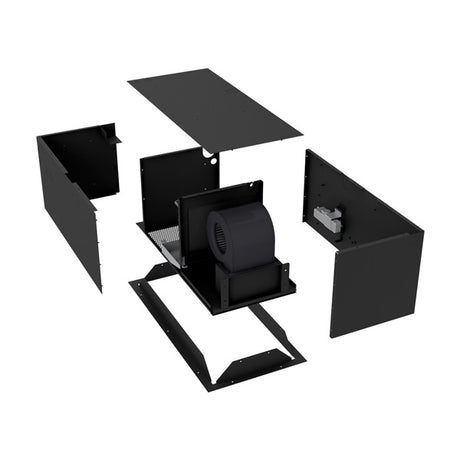
What to expect during installation of a split wine cellar cooling system

Installing a split system requires careful routing of lines, proper drainage, and accessibility for future service.
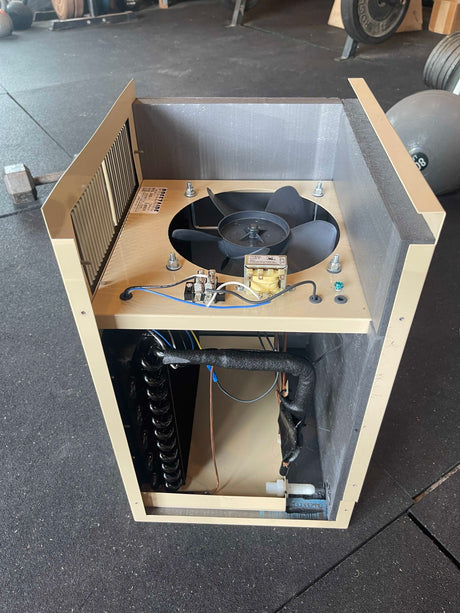
Installing a split system is not surgery, but it is close - precision matters. This is not tossing an A/C window unit into your cousin’s basement. It is about integrating a sensitive mechanical system into a luxury envelope - without compromising aesthetics, performance, or future service.
Expect:
- Soft copper refrigerant lines, minimum 3/8” x 5/8”, insulated to R-4.2
- Condensate drains with ¼” per foot slope, or a vertical-lift pump like VCMA-20-P for tricky installs
- Electrical supply: 208-230V, 20A dedicated circuit, GFCI protected, with NEMA 3R-rated outdoor boxes if exposed
Framing hacks?
- Always include a 2" conduit sleeve with pull string for future upgrades
- Use access panels in drywall ceilings near cassettes - your future tech will bless you.
You have wired, drained, and ducted. Now - will this system stand up to real-life conditions? Outdoor heat waves, dust storms, raccoons chewing wires? Let us find out.
How reliable are split cooling units when placed outdoors or in remote areas
Split system components require protection from outdoor elements and must be selected for durability, ease of service, and climate compatibility.
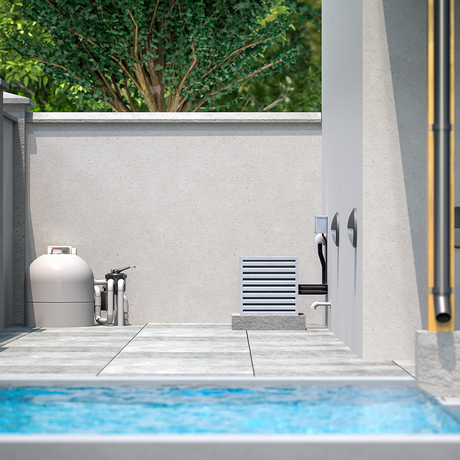
Condenser location is where dream cellars go to die - fast. You can nail the design and airflow, but if your condenser gets choked with pine needles or bakes at 110°F in full sun, it will fail. And not gently.
Look for:
- Scroll compressors: rugged, efficient, quiet under load
- Low ambient kits: Must-have if temps drop below 40°F (think Aspen, Lake Tahoe, northern NY)
- E-coated coils: For salty air in coastal homes (ASTM B117 rated to 1,000 hours)
The must-haves?
- Service ports within 10 inches of the panel
- Error-code LEDs for diagnostics (no guesswork)
- Modular fans and boards you can swap in <15 minutes
And do not let your tech be the only one who understands the system. Ask for:
- As-builts
- Refrigerant charge logs
- Maintenance schedule (filter swap every 6 months, pressure check annually)
Want a visual fail-safe? Use a Wi-Fi camera aimed at your condenser. You will catch clogs, leaks, or damage before your bottles do.
You have nailed the hardware. Now - can you keep an eye on it from Paris or Pebble Beach? Yes, you can. Let us go there.
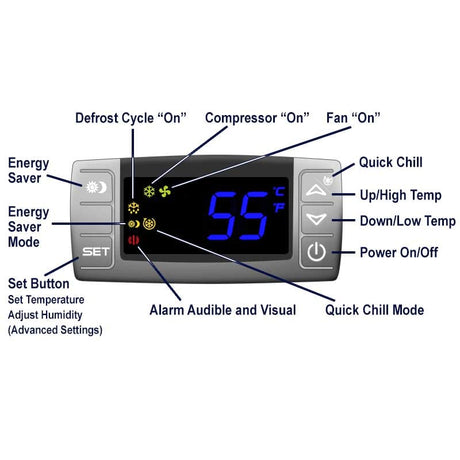
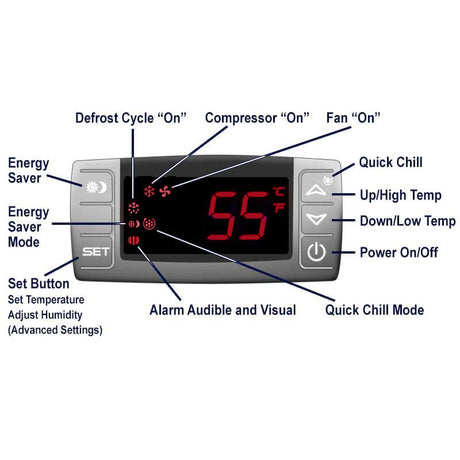
How to monitor and control your wine cellar split system remotely with smart home integration
Split systems with Wi-Fi modules and smart controls allow remote monitoring, diagnostics, and alerts for complete climate management.
This is your cellar’s version of Mission Control. If you have automated your blinds, sound system, and pool temperature, you should not have to wonder what your Merlots are up to at 2am.
The best setups offer:
- Wi-Fi controllers like the CellarPro Network Module, as well as optional Wi-Fi add-ons available for Wine Guardian and WhisperKOOL systems, allow full remote monitoring.
- Cloud dashboards with logs up to 30 days, downloadable for your own peace of mind
- Text/email alerts for temp drifts of ±2°F or RH changes of ±5%
- Control4, Crestron, and Lutron integration using Modbus, BACnet, or dry contacts
The real kicker? Service techs can troubleshoot remotely. If your compressor cycles 30x/day, they will know before you smell vinegar in a bottle of Bordeaux.
Security-savvy? Make sure the controller uses TLS encryption, and place it on a separate VLAN from your main home network.
Superpower move: Pair a SensorPush HT.w Pro with your system. It gives you second-opinion data, exports CSV logs, and costs less than a corkage fee at Eleven Madison Park.
If you still can't decide, we have a large guide on how to choose a wine cellar cooling unit here.